Front and Rear Glass
Since I had to replace the headliner, I decided to do it right
and remove the front & rear glass. This didn't appear to be difficult
at first but like most other things, it took time. I decided to replace
the front and rear window gaskets to removing the glass was not difficult.
The windshield was an LOF replacement glass while the rear backlite is the date
coded original Carlite. It turns out that both glasses (?) had been
removed to put the black headliner in as the headliner looped over the pinch
weld flange into both window cavities. Whoever did the black headliner did
it right!
Front Windshield
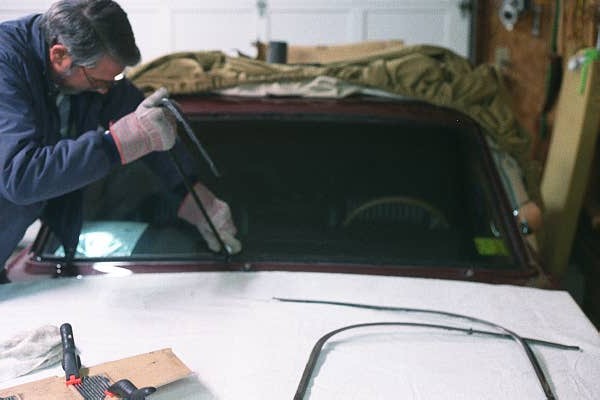
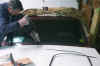 Here we have yours truly cutting away at the windshield gasket. It you are
inexperienced, this is the safest way to remove the glass. Simply cut the
flap of gasket that retains the glass with a razor knife and then slowly push
the glass off the car.
Here we have yours truly cutting away at the windshield gasket. It you are
inexperienced, this is the safest way to remove the glass. Simply cut the
flap of gasket that retains the glass with a razor knife and then slowly push
the glass off the car.
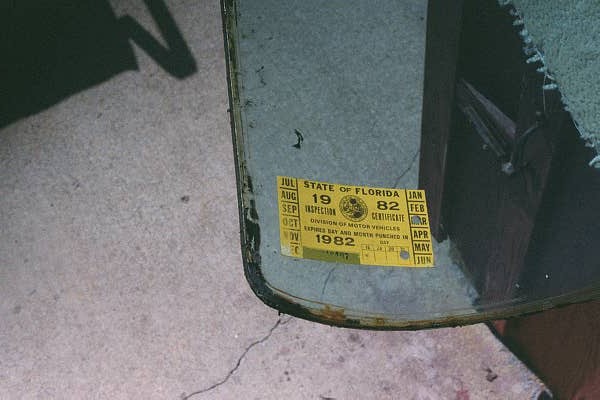
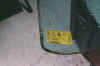 Here's another reason why I cut the gasket to remove the glass - age. This
windshield has been in the car since 1982 when it was last inspected. This
is when the previous owner to the guy I bought the car from bought it.
Nineteen years and the rubber gets stiff and brittle so it's best to replace it.
Here's another reason why I cut the gasket to remove the glass - age. This
windshield has been in the car since 1982 when it was last inspected. This
is when the previous owner to the guy I bought the car from bought it.
Nineteen years and the rubber gets stiff and brittle so it's best to replace it.
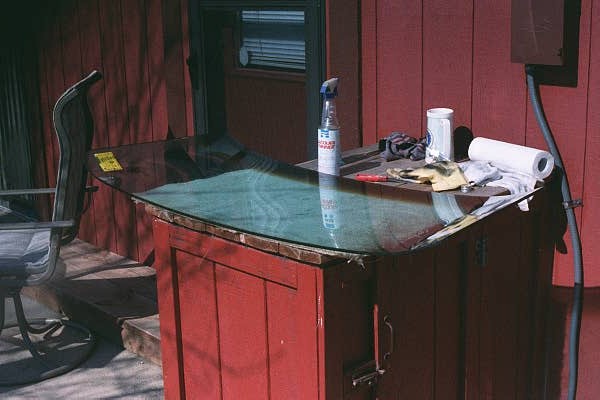
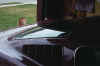
 This
is a no-no! What can happen here is the windshield break in half due
to the weight of the cantilevered halves. The glass should be leaned up
against something with the outside face (convex) side out, or flipped over and
supported in at least two places on the inside (concave) surface. Same
goes for the rear glass. Fortunately, I was lucky and didn't have to claim
the doofus award.
This
is a no-no! What can happen here is the windshield break in half due
to the weight of the cantilevered halves. The glass should be leaned up
against something with the outside face (convex) side out, or flipped over and
supported in at least two places on the inside (concave) surface. Same
goes for the rear glass. Fortunately, I was lucky and didn't have to claim
the doofus award.
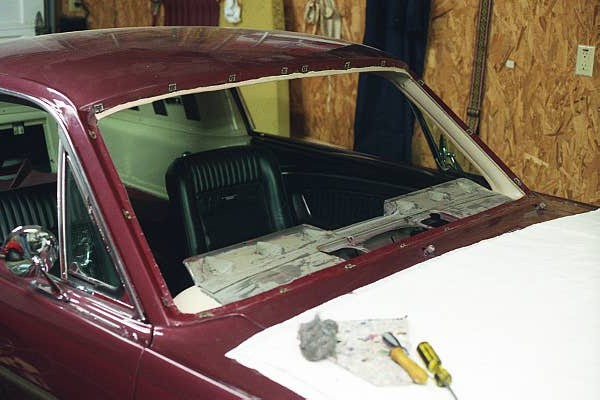
 Front end is all prepped and ready to accept glass. Note the edge of the
new headliner glued in place on the window flange. Note the moulding clips
are all installed. If you forget to do this and install the glass, it is
very difficult to put the clips in properly.
Front end is all prepped and ready to accept glass. Note the edge of the
new headliner glued in place on the window flange. Note the moulding clips
are all installed. If you forget to do this and install the glass, it is
very difficult to put the clips in properly.
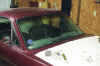 Glass installed and ready for mouldings. Putting the glass in is a
two-person job. One person pulls the rope to bring the gasket inside the
flange while the other follows the rope pushing down on the glass to ensure the
gasket seats properly.
Glass installed and ready for mouldings. Putting the glass in is a
two-person job. One person pulls the rope to bring the gasket inside the
flange while the other follows the rope pushing down on the glass to ensure the
gasket seats properly.
Rear backlite
 I didn't document removal or installation of the rear glass. However, the
procedure is the same as for the windshield. This was the first piece of
glass to go back into the car. The only difficulty with the rear window
was at the upper right and left corners. These are 90 degree corners and
very difficult (for me, anyway) to pull the inside gasket flange over the
pinchweld flange. Plus the fact that I knew there is no replacement for
these 65-66 fastback rear glass made me nervous. I pulled the rope inside
the car while my wife followed pressing on the glass to seat the gasket.
I didn't document removal or installation of the rear glass. However, the
procedure is the same as for the windshield. This was the first piece of
glass to go back into the car. The only difficulty with the rear window
was at the upper right and left corners. These are 90 degree corners and
very difficult (for me, anyway) to pull the inside gasket flange over the
pinchweld flange. Plus the fact that I knew there is no replacement for
these 65-66 fastback rear glass made me nervous. I pulled the rope inside
the car while my wife followed pressing on the glass to seat the gasket.
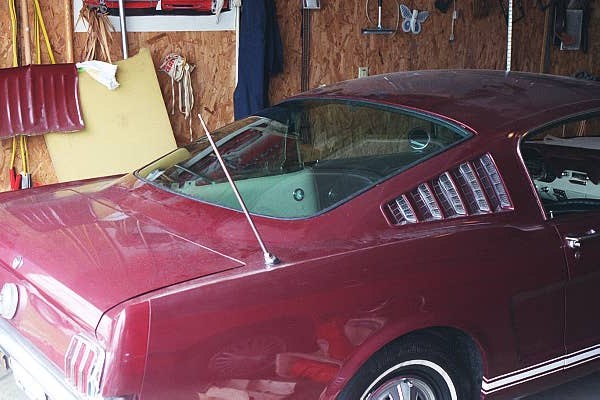
 Another shot of the rear glass installed. Reinstalling the moulding was a
bear as the new window gasket was ever-so-slightly thicker than the old gasket,
plus my moulding pieces are fairly battle scarred. Eventually, they will
be replaced. Here too, don't forget to install the moulding clips before
the glass.
Another shot of the rear glass installed. Reinstalling the moulding was a
bear as the new window gasket was ever-so-slightly thicker than the old gasket,
plus my moulding pieces are fairly battle scarred. Eventually, they will
be replaced. Here too, don't forget to install the moulding clips before
the glass.
Return to restoration area page
 Here we have yours truly cutting away at the windshield gasket. It you are
inexperienced, this is the safest way to remove the glass. Simply cut the
flap of gasket that retains the glass with a razor knife and then slowly push
the glass off the car.
Here we have yours truly cutting away at the windshield gasket. It you are
inexperienced, this is the safest way to remove the glass. Simply cut the
flap of gasket that retains the glass with a razor knife and then slowly push
the glass off the car.